To run an IDV check within the platform, first navigate to the IDV & AML tab from the side of your RFA dashboard.
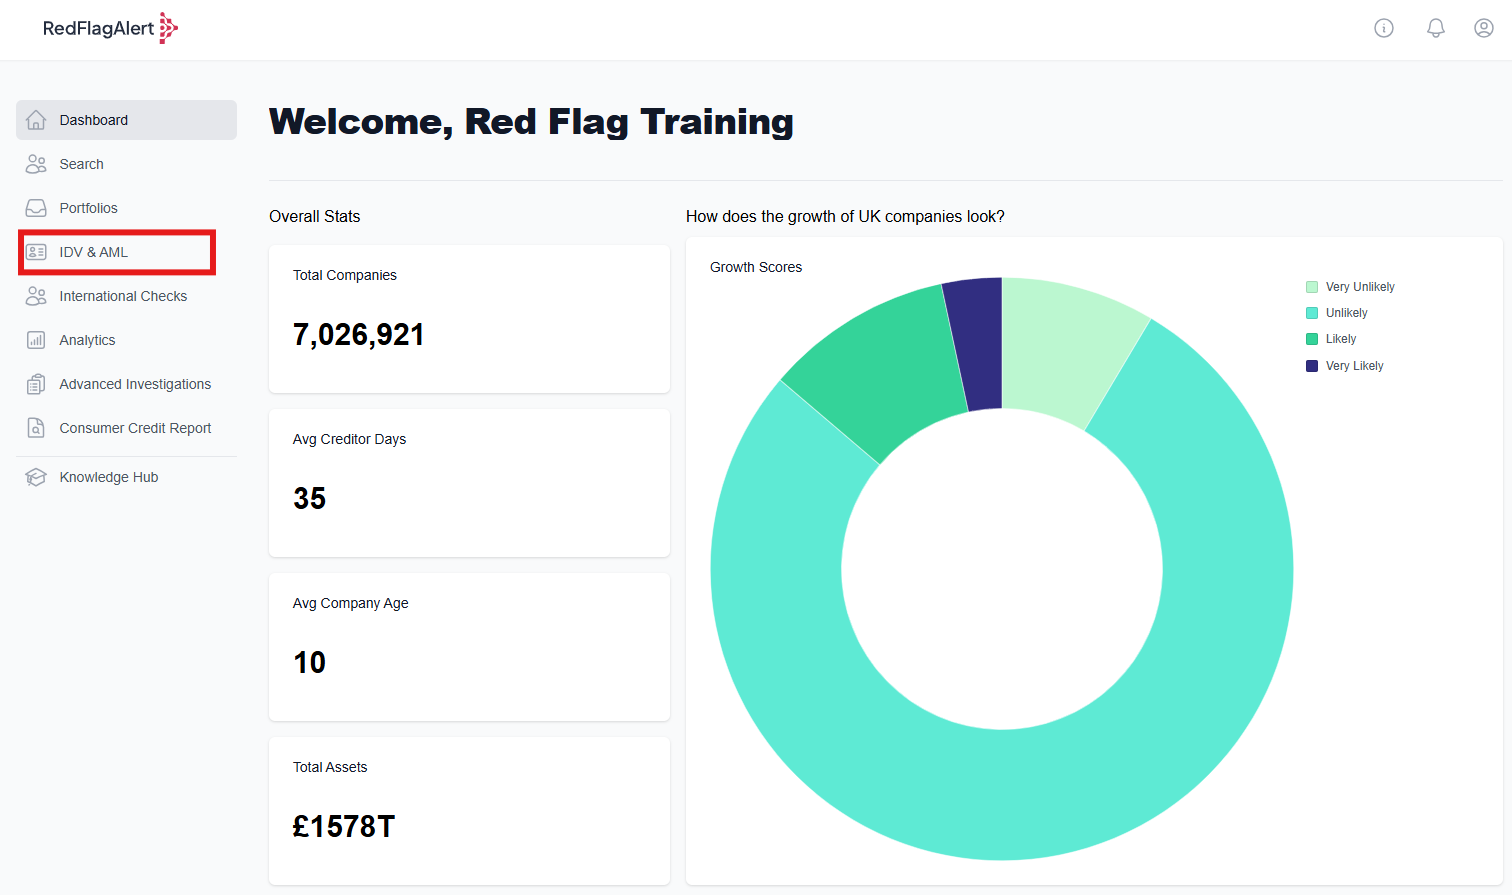
To send out a single IDV check, select 'Single Check' from the top right corner of the page.

Single Checks mean you send out one check at a time, whereas Bulk Check allows you to submit a spreadsheet and send out all the checks at once.
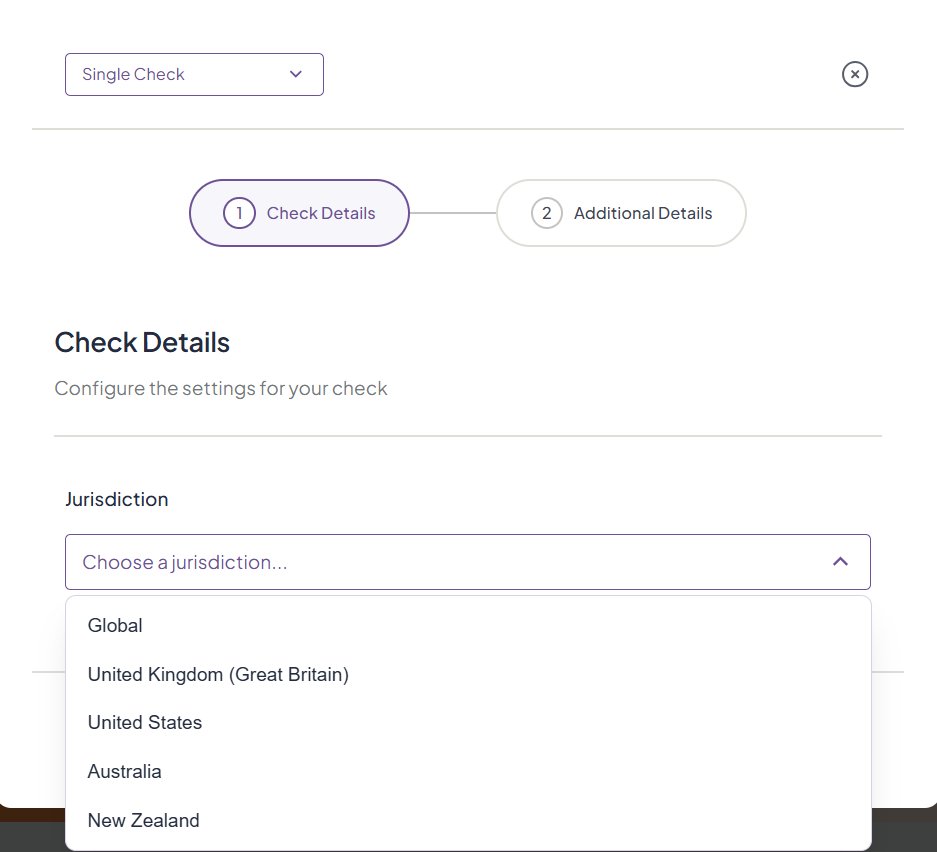
1. First, choose the jurisdiction for your check. IDV checks are available in every jurisdiction.
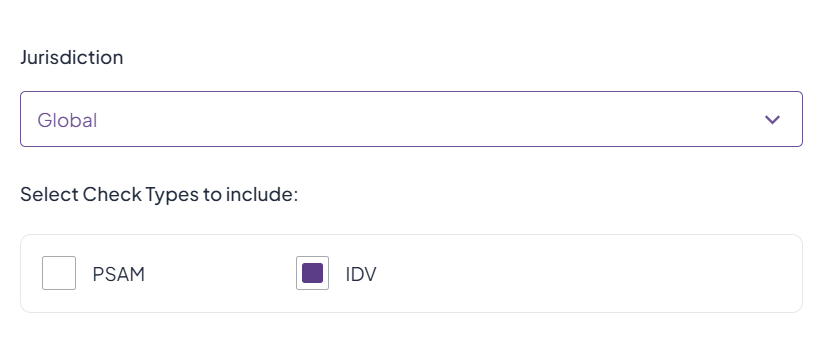
2. Click to check the IDV checkbox when asked to select the check types you would like to include. Read more about the types of checks here.
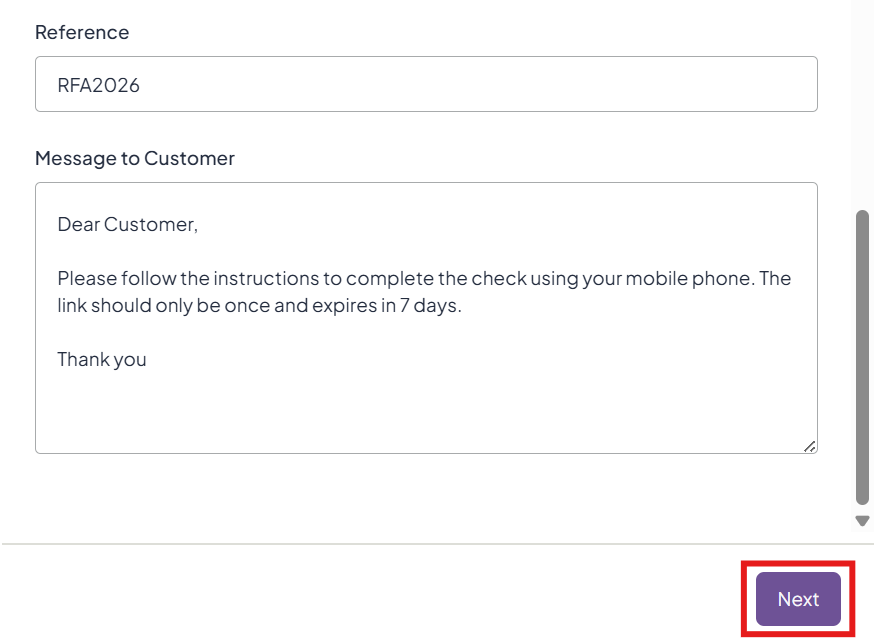
3. Write a reference for your records, then write an optional message for your customer. We recommend that you include a message to let them know what is required. When you have done this, click 'Next'.
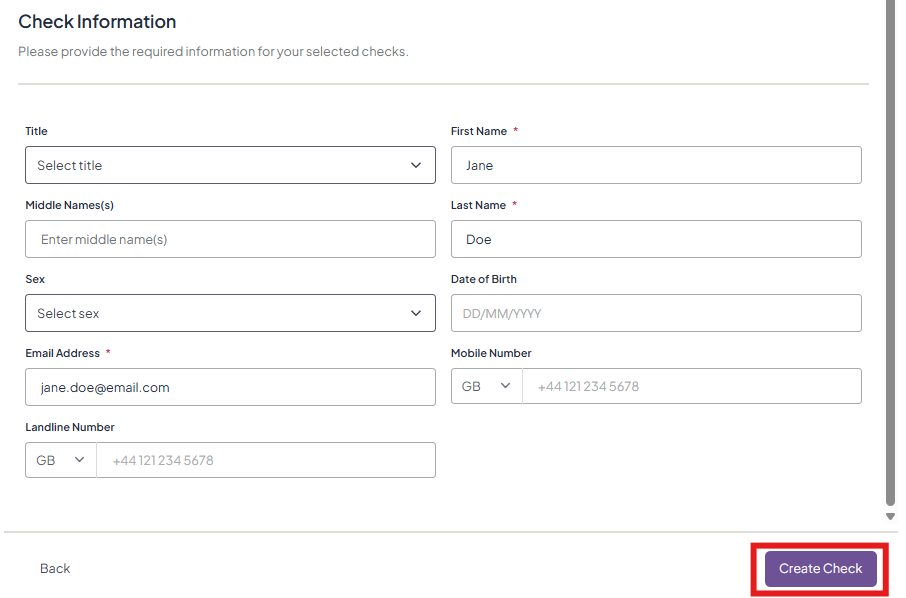
4. In the next screen, fill out the details of the person you are sending the check to. More information is better, but you are only required to fill out the information marked with a red * - all other fields are optional to fill out.
Make sure to double check the email/mobile number for your client is correct, as this cannot be amended later.
When you have done this, click 'Create Check'.
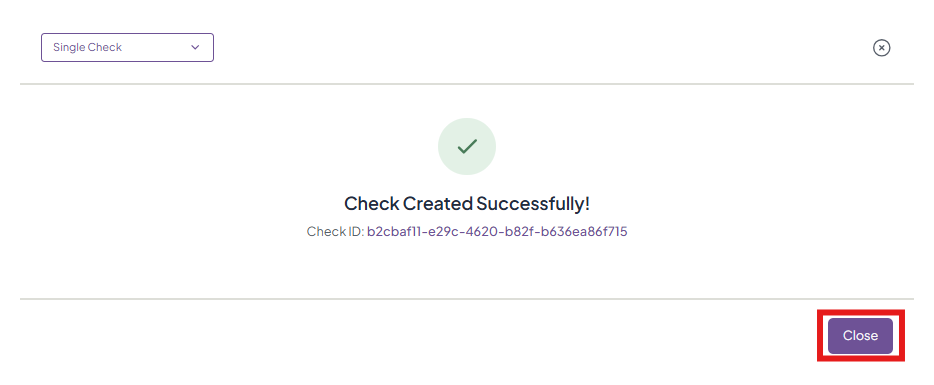
5. Click 'Close' to go back to the IDL/AML dashboard.
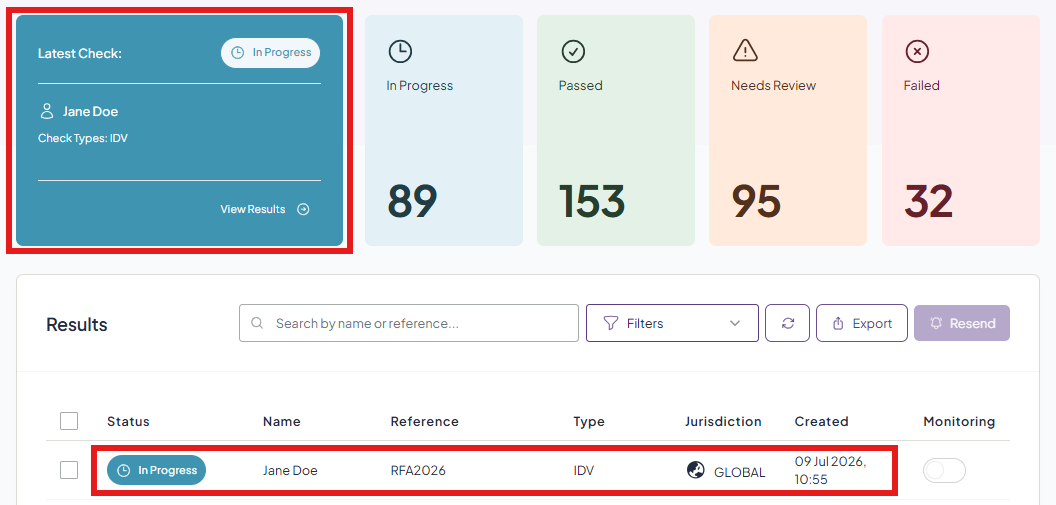
6. View your check on the dashboard and click to view the details.
Was this article helpful?
That’s Great!
Thank you for your feedback
Sorry! We couldn't be helpful
Thank you for your feedback
Feedback sent
We appreciate your effort and will try to fix the article